Friday 27th September we had our first Maya Workshop with tutor
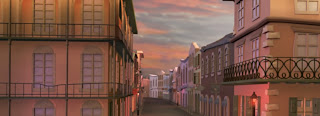
Jin Zhi. This semester we will be learning about 3D Modelling (NURBS and Polygons), Texturing, Lighting, Rendering and Compositing. The goal is "realism" as we are concentrating on VFX. Our first assignment is to select a reference picture and recreate it using only NURBS modelling.
Our first lesson was an introduction to modelling with NURBS:
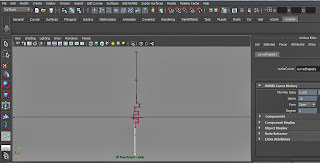
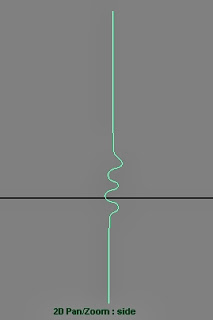
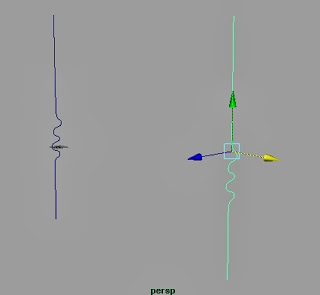
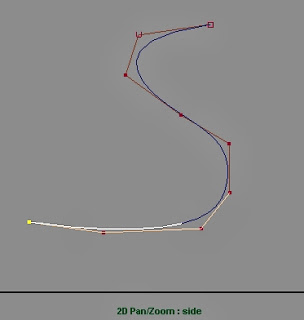
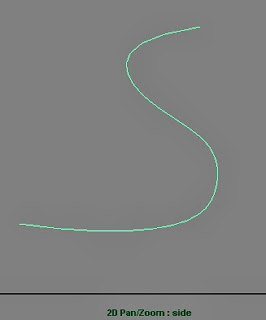
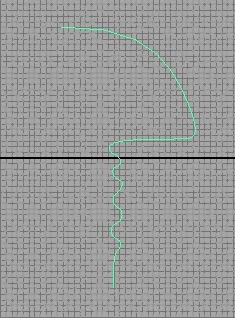
Most of the 3D modelling I've done previously has been with polygons. The only NURBS modelling I've done before was to model some iron railings in a mostly polygon-created town environment:
 |
| simple railings made with NURBS |
So this lesson was helpful in learning more techniques for modelling with NURBS.
Here are a few of the basic techniques we learnt (This may seem like detailed blogging but it also acts as a reference/guide for me to look back at if I forget how to do something):
Creating a wall:
 |
| Using the CV Curve Tool draw out line shape (hold 'shift' to snap into a straight line) |
 |
| Once line is drawn, press 'enter' to complete |
 |
| 'Ctrl + D' to duplicate and move across |
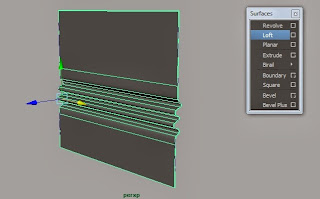 |
| Select both lines and 'Loft' to create the wall |
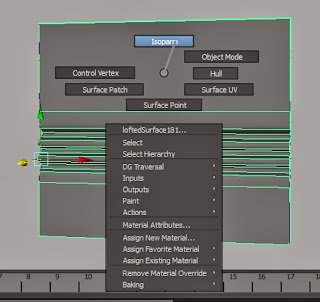 |
| To add more detail to the wall it needs more points to select and manipulate; to do this first Right click and select 'Isoparm' |
 |
| Hold 'shift' and drag new isoparms down - however many needed from each side |
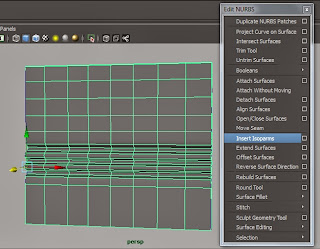 |
| To turn the yellow dotted isoparms into solid green lines, select 'Insert Isoparms' |
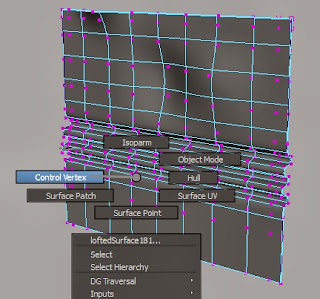 |
| Can then Right click and select 'Control Vertex' to manipulate points on the wall |
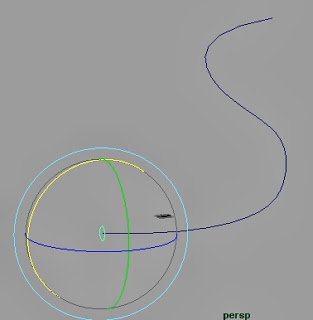
Create a pipe/wire:
 |
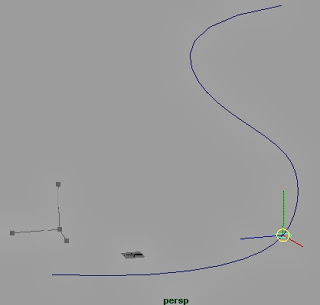
| Create a curved shaped using CV Curve Tool |
 |
| Press 'enter' to finish drawing the curve |
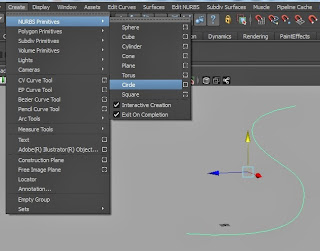 |
| Create a NURBS Circle |
 |
| Select the 'Move Tool' for the circle. Hold 'C' and middle mouse click on the curve to snap the circle to it |
 |
| Drag circle to the end of the curve and rotate to roughly 90 degrees to the curve |
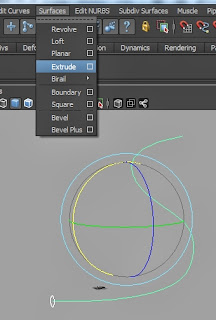 |
| With the circle selected, 'shift' click the curve and go to the 'Surfaces' menu and click the option box next to 'Extrude' |
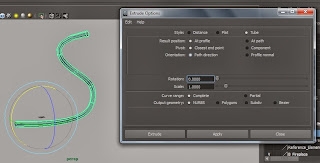 |
| Make sure 'Path Direction' is highlighted next to 'Orientation' and then 'Apply' or 'Extrude' to create the pipe/wire object |
Create a square from a NURBS circle:
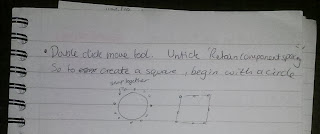 |
| From what I quickly wrote down in my notebook, I thought after a NURBS circle was created with 12 points, a square was created by snapping vertex together but I can't work out how to do that so maybe the points were just scaled together? |
 |
| This shape was made by moving and scaling vertex points. |
 |
| Duplicate and scale down, 'loft' between both of the squares |
 |
| To "close end" just scale smaller curve down until it is too small to see |
 |
| The finished shape |
I found another way - don't know if this is a good way to create a square from a circle but I guess I'll find that out once I start my NURBS modelling, by creating a 4-point circle with Linear Degree as highlighted in image (below)
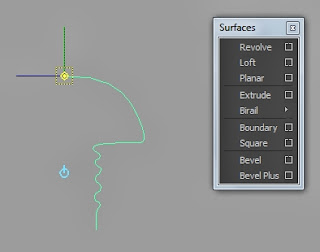
Revolve:
 |
| Use CV Curve Tool to draw out shape |
 |
| 'Center Pivot', then press 'insert' and hold 'c', middle mouse click on curve to move the pivot point to the end of the curve |
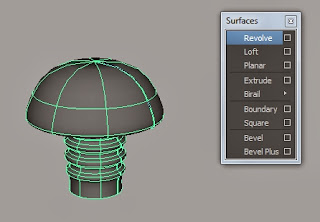 |
| Under the 'Surfaces' menu, select 'Revolve' to create object |
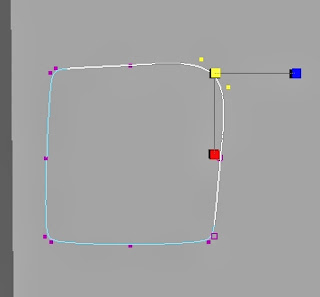
Creating holes:
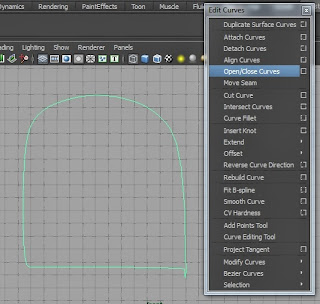 |
| To close a curve you have just drawn with the CV Curve Tool, use 'Open/Close Curves' |
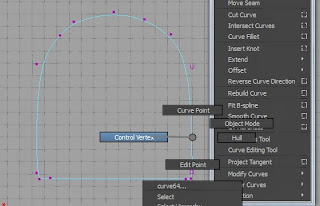 |
| Right click and 'Control Vertex' to move points around |
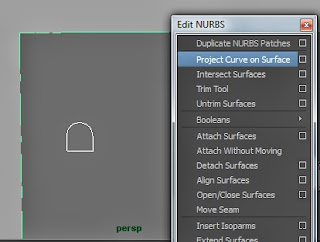 |
| Select the curve and a surface, then 'Project Curve on Surface' |
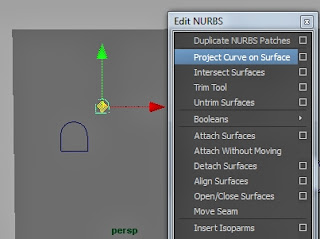 |
| Select the new projection... |
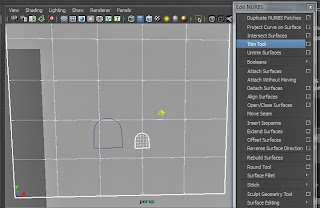 |
| ...and select the surface, select 'Trim Tool', click on the surface, then press 'enter' |
 |
| A hole has now been created in the surface |
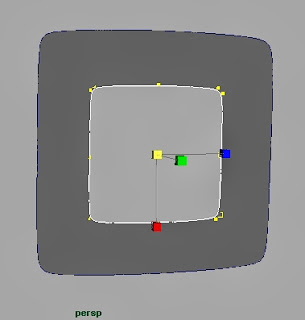
The next steps I find are very temperamental, sometimes it works, sometimes it does not and I'm not quite sure why:
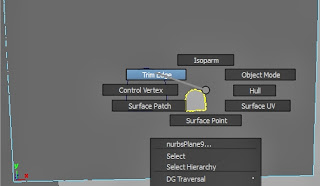 |
| Right click and select 'Trim Edge' to select the edge |
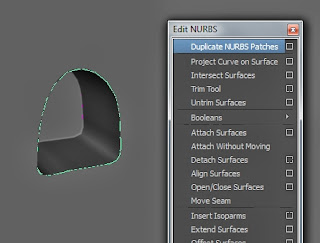 |
| The theory behind creating the above objects is to 'Duplicate NURBS Patches' and move the duplicate curve back and then 'loft' between the two to create the "tunnel" |


No comments:
Post a Comment