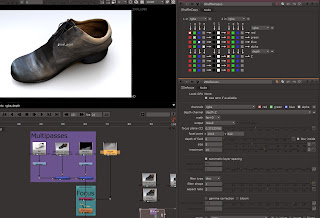
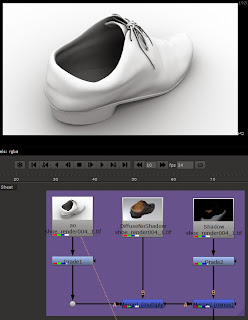
For compositing the rendered shoe I used a NUKE workflow:
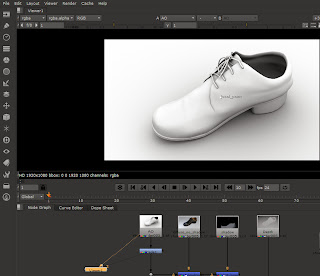
First thing was to 'Read' in all the images I had rendered out from Maya and arranged them in the Nuke node graph.
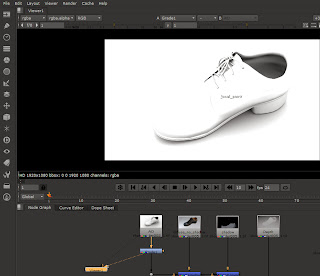
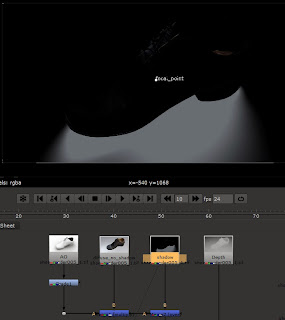
I started with the Ambient Occlusion pass, applied a 'Grade' to it to make the AO pass lighter:
 |
| AO pass |
 |
| AO pass lightened with 'Grade' node |
Used a Merge (Muliply) node to merge the DiffuseNoShadow with the AO:
 |
| DiffuseNoShadow pass |
 |
| DiffuseNoShadow merged with AO |
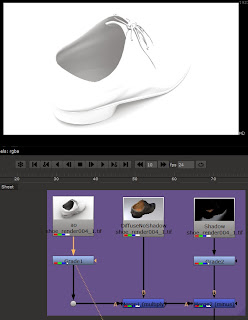
The next pass to add into the pipeline was the Shadow pass with a Merge(Minus) node:
 |
| Shadow pass |
 |
| Shadow added to rest of the pipeline |
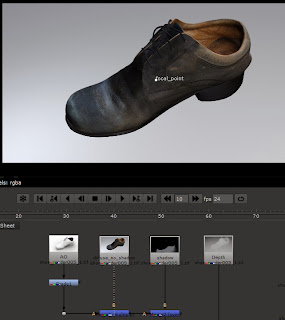
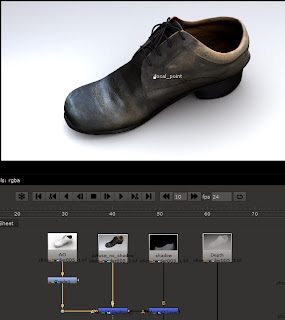
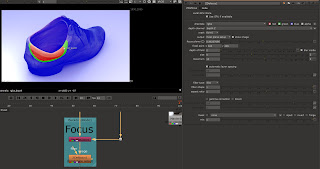
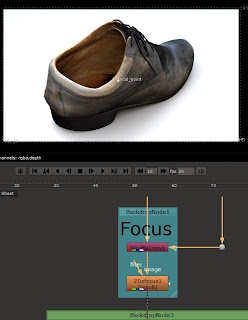
For the Depth pass, a 'Shuffle' node was used to add the Depth map properties into the pipeline so that the 'ZDefocus' node would work:
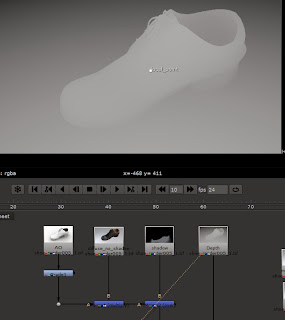 |
| Depth pass |
 |
| Shuffle node added to pipeline |
 |
| Adjusting the Shuffle settings |
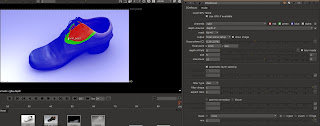 |
| The area of focus could be adjusted in the ZDefocus node settings |
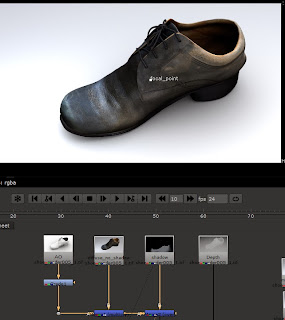
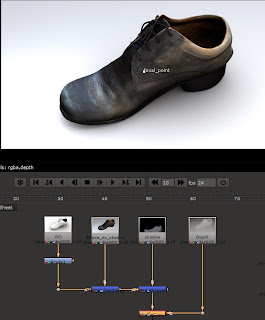
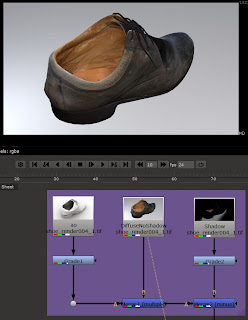
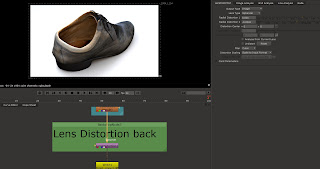
I then decided to add the Lens Distortion back into the image, as I had removed the lens distortion from the original images that I had used as reference to model the shoe from:
 |
| Without Lens Distortion |
 |
| With Lens Distortion |
For the final pipeline I added 'Backdrop' nodes to label the pipeline. At the side of the pipeline I had a Master Beauty pass for referring back to during compositing. Lastly I added a 'Write' node to render out the final image:
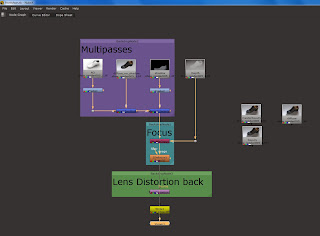 |
| Final pipeline |
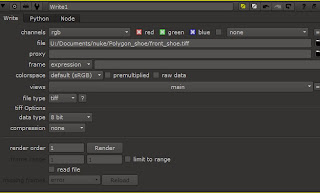 |
| 'Write' node settings |
Final front shoe render:
I then followed the same pipeline for the back of the shoe render:
 |
| AO pass |
 |
| AO pass graded |
 |
| DiffuseNoShadow pass |
 |
| Adjusting focus point for the depth |
 |
| Depth applied |
 |
| Without Lens Distortion |
 |
| With Lens Distortion |
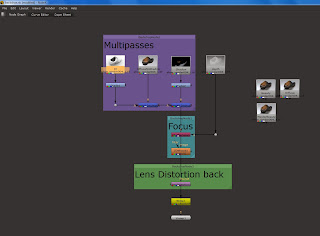 |
| Final Nuke workflow for the back of the shoe |
Final back shoe render:


No comments:
Post a Comment