Showing posts with label Polygons. Show all posts

Tuesday, 3 December 2013

Polygon Shoe Nuke Compositing

For compositing the rendered shoe I used a NUKE workflow:

First thing was to 'Read' in all the images I had rendered out from Maya and arranged them in the Nuke node graph.
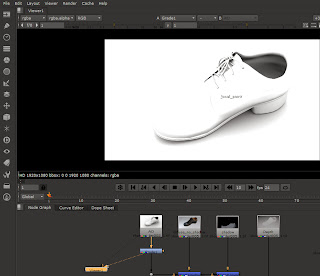
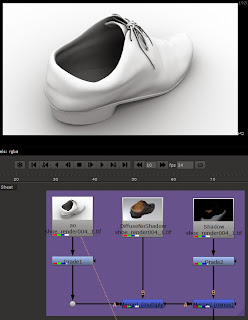
I started with the Ambient Occlusion pass, applied a 'Grade' to it to make the AO pass lighter:
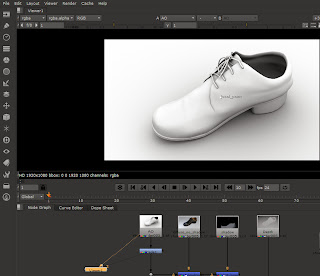
AO pass

AO pass lightened with 'Grade' node

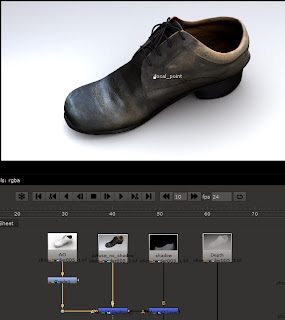
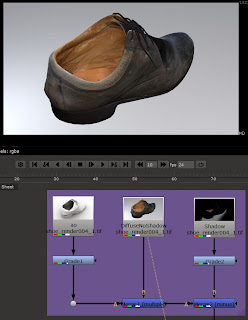
Used a Merge (Muliply) node to merge the DiffuseNoShadow with the AO:
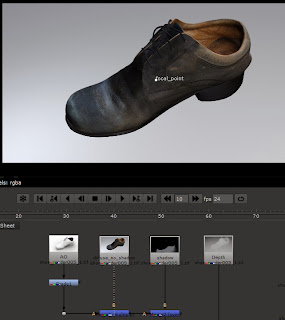
DiffuseNoShadow pass

DiffuseNoShadow merged with AO

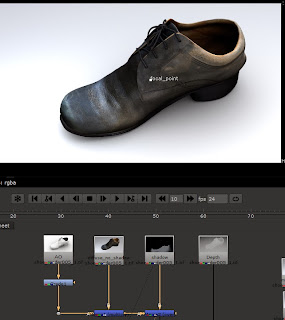
The next pass to add into the pipeline was the Shadow pass with a Merge(Minus) node:
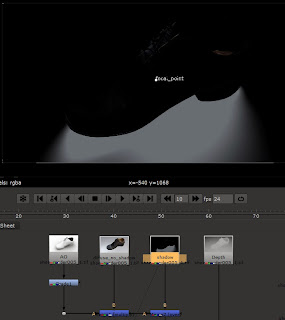
Shadow pass

Shadow added to rest of the pipeline

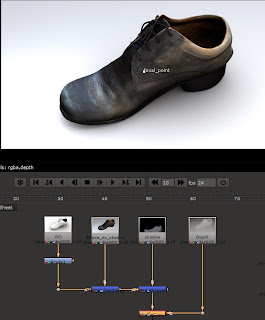
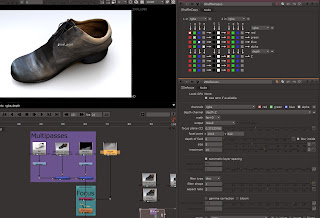
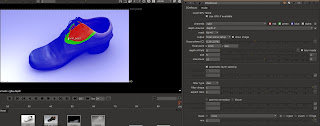
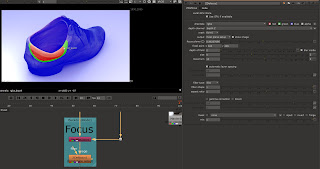
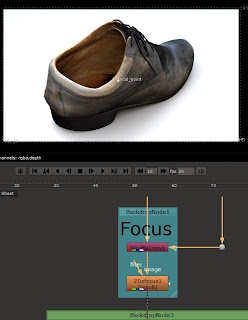
For the Depth pass, a 'Shuffle' node was used to add the Depth map properties into the pipeline so that the 'ZDefocus' node would work:
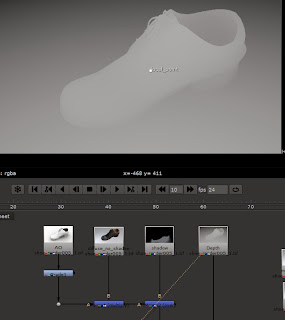
Depth pass
Shuffle node added to pipeline

Adjusting the Shuffle settings

The area of focus could be adjusted in the ZDefocus node settings

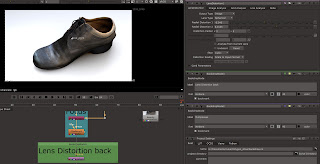
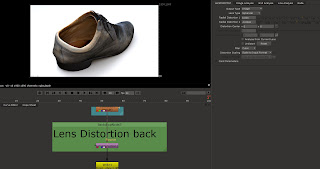
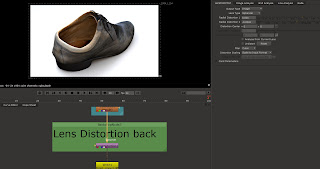
I then decided to add the Lens Distortion back into the image, as I had removed the lens distortion from the original images that I had used as reference to model the shoe from:
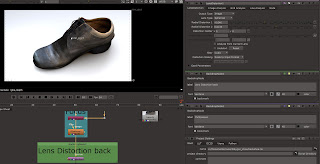
Without Lens Distortion

With Lens Distortion

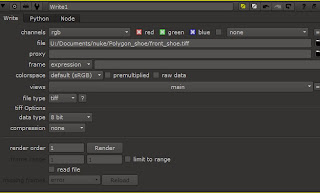
For the final pipeline I added 'Backdrop' nodes to label the pipeline. At the side of the pipeline I had a Master Beauty pass for referring back to during compositing. Lastly I added a 'Write' node to render out the final image:
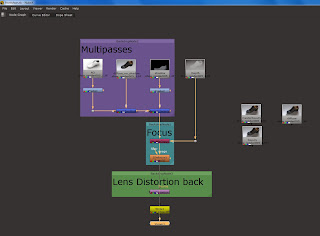
Final pipeline

'Write' node settings

Final front shoe render:


I then followed the same pipeline for the back of the shoe render:
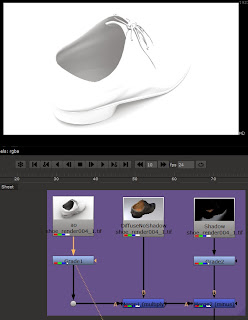
AO pass

AO pass graded

DiffuseNoShadow pass

Adjusting focus point for the depth

Depth applied

Without Lens Distortion

With Lens Distortion

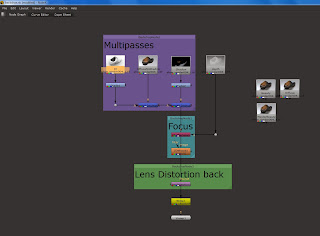
Final Nuke workflow for the back of the shoe

Final back shoe render:

Polygon Shoe Rendering

Created some greyscale versions of the shoe texture to use as bump maps,  lightened them quite a bit as the bump map was far to strong on the shoe when I applied it, so these lighter ones create a more subtle effect which looked a bit more realistic:


Shoe without bump map:

Shoe with bump map applied:


Setting up the scene to render:
Set up a 3 point lighting for the shoe object, a spotlight at the front, an area light at the side to light up an area which was too dark, and a directional light which casts raytraced shadows. I also set up a camera and added in a polygon plane for the shoe to sit on.
The shadow being cast by the directional light looked too harsh with the hard edges

Feathered the edges by increasing the Shadow Rays and Light Angle

Setting up the render passes in the Master Layer to include: Beauty, Depth, Diffuse, Shadow and a DiffuseNoShadow to experiment with. I did not add in a Specular pass as there is no specular map applied to the shoe. Also set up an Ambient Occlusion render layer by itself as the pass I set up in the master layer didn't work

Ambient Occlusion set up by creating a surface shader and attaching a mib_amb_occlusion to it


For assessment we needed a pair of something, so for the shoe I duplicated and mirrored the object to create another one. I then adjusted some of the geometry according to the position I put it in, for example the loops of the laces are now falling gravity to the floor:
Pair of shoes - Ambient Occlusion

Thursday, 28 November 2013

Polygon Shoe Texturing

After modelling the shoe, the next step was to UV map it. I've always used Maya's tools for UV mapping, however as time has been disappearing I decided to use a software called UVLayout to help speed the process along. Watched tutorials to learn how to use it, and the UV maps were ready rather quickly! Upon realizing that through using UVLayout, my shoe was now an .obj which combined my shoe into one object, I decided to UV map different parts of the shoe separately by exporting different parts of the shoe as .obj's.

The finished UV map for the main part of the shoe, used a temporary checkered texture to check for distortion. Exported the UV snapshots ready for texturing.

Worked with Photoshop and Maya side by side whilst painting the textures.

I used high res photos of the real-life shoe and merged them together in Photoshop, also used the paint and clone brush tool.

I exported the UV snapshots as a large file size, which has allowed me to adjust image sizes to what is needed - as it is simple to decrease the size but not easy to increase quality.

Finished textures painted onto the UV maps:

Laces 1

Laces 2

Inside and outside of shoe

Inner sole of shoe
shoe heel


Finished textures on the shoe in Maya: